How To Build a Todo App With Airsequel and Elm
In this tutorial we will be building a very simple todo app with Elm's core library and the https://github.com/dillonkearns/elm-graphql library. It will load the todos via GraphQL from a SQLite database hosted on Airsequel.
This is what the final app will look like. Not pretty, but functional!

If you find any problems in this tutorial, please feel free to leave a comment!
Setting up the Airsequel Database
Things to know:
- As the primary key we use the automatically generated
rowidcolumn.
First, let's create the todo database in Airsequel's UI. If you're on Airsequel Enterprise you can alternatively use following steps:
- Alternative way for Airsequel Enterprise: Upload an existing SQLite database
<aside>
💡 The next steps describe how to create the database with the
sqlite3cli tool. You can of course also use one of the many graphical database management apps like e.g. DB Browser for SQLite or Beekeeper Studio.</aside>Create a
schema.sqlfile for creating the SQLite database:schema.sqlCREATE TABLE todos ( title TEXT NOT NULL, completed BOOLEAN DEFAULT (FALSE) NOT NULL ); -- Add some example todos INSERT INTO todos (title, completed) VALUES ('Buy milk', 0), ('Go hiking', 1);
Execute SQL query to create the database:
sqlite3 todos.sqlite < schema.sqlGo to airsequel.com and upload the
todos.sqlitefile.
Or build it up from scratch:
- Go to airsequel.com (or your custom Enterprise instance)
- Click on “Create New SQLite Database”
- Rename database to “todos”
- Go to the “Tables” tab
- Rename “table_1” to “todos”
- Rename column “name” to “title”
- Add a new column “completed” with type “Boolean” and activate “Not Null”
- Create a few todos like “Buy milk” and “Go hiking” to make working with it easier
🎉 Your database and the corresponding GraphQL endpoint are now ready!
It should look something like this:
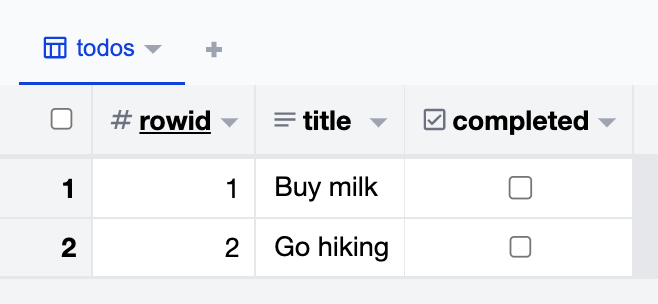
Creating the Elm app with elm-graphql
Create a new directory for the app:
mkdir todo-app && cd todo-appInitialize a new Elm project (press enter on all following prompts):
npm install elm elm-format
npx elm init
Install necessary dependencies:
elm install \
  dillonkearns/elm-graphql \
  elm/json \
  krisajenkins/remotedata && \
npm install --save-dev @dillonkearns/elm-graphql
Create code for accessing the GraphQL endpoint (Don't forget to replace the placeholder
<db-id>with your database id)!npx elm-graphql --skip-elm-format \ https://<name>.airsequel.com/dbs/<db-id>/graphqlCreate the main Elm file which will include the code your app:
touch src/Main.elmCopy the file content from github.com/Airsequel/Examples/blob/main/elm-simple-todo-app/src/A_List.elm into the
src/Main.elmfile.Assign your database id from the previous steps to the
dbIdvariableFinally run
npx elm reactorto start the development server and host your website at localhost:8000/src/Main.elm. 🎉 Our little todo app can now list all our todos including their completion status!To add also support for writing, updating, and deleting todos you can now replace the
Main.elmfile with the corresponding files from here github.com/Airsequel/Examples/tree/main/elm-simple-todo-app/src.Finally, feel free to use the code (MIT licensed) as a template for your own CRUD apps.
Happy coding!